September 30, 2022
How I created a lively language application with React Native
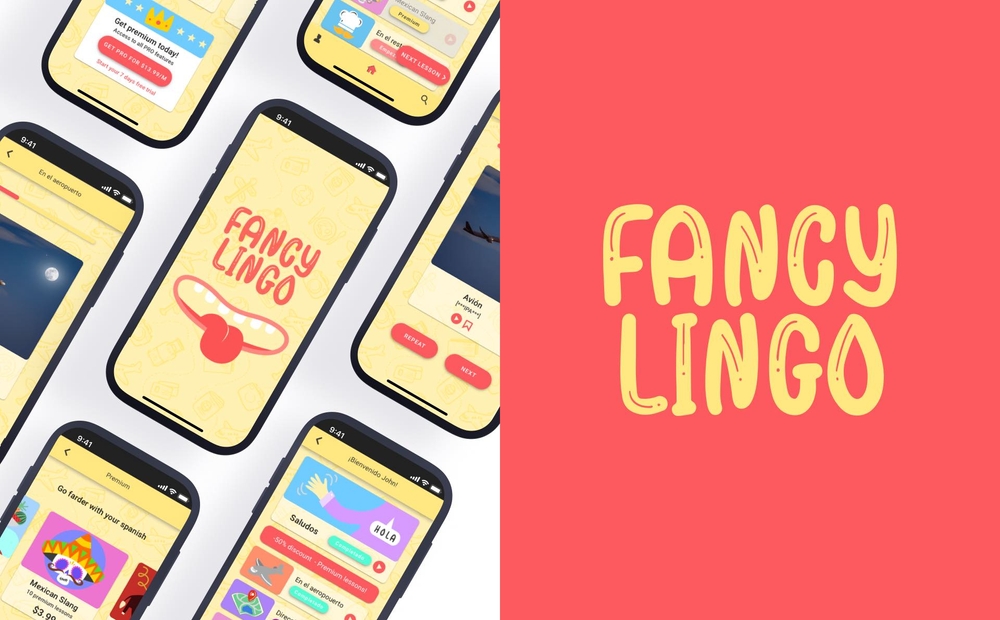
Design Credit: Mafer Contreras
Github: Fancylingo
I love to travel and get to know new countries, no doubt about it. So do my friends. The fresh food, all the novelty, and new places to check out, it's dope. But one of the most significant issues, while amusing, is that we don't always know what people say. Duolingo and apps like that are fun, but it feels like much of the stuff you learn in them isn't that important for talking to people. Kinda feels like we should just cut out the bullshit and focus on the most popular words so we can communicate with people as quickly as possible. I decided to build a mobile app to see if I could accomplish a working demo.
Mafer (my girlfriend), my friend Jason, and I put our heads together to see what we could come up with. Jason had the initial idea, so we analyzed his vision, and he put together a wireframe. From there, Mafer did her work in building a design from the wireframe and research and making it look pretty. Once she was done with her magic, it was my turn to step in.
When I was deciding how to build, I wanted to leverage skills I already had (Javascript, React) and also to use one codebase for both Android and iPhone. Since I had no experience with React Native, I decided to use Expo, to build a mobile app as fast as possible. The goal was to make a working demo of the prospective product that was more built out than an MVP, which meant having a database of lessons and authentication to control access to the content.
Since I'm a Front-End developer, I try to optimize my time as much as possible regarding Back-End processes. The current tools available in the cloud to replicate these activities are unbelievable, so I went in that direction. I utilized Firebase first to authenticate users through Facebook, Google, and email. I found it somewhat tedious to implement for the first time on mobile, but once I figured it out, it was pretty straightforward. I could utilize React hooks to seperate re-usable logic and to take care of the different authentication API calls.
I was already invested in Firebase, their Cloud Storage made a lot of sense to handle the storage of the lesson images, flashcard images, and flashcard audio. I split up the 3 different media types into separate buckets in the cloud. I kept the naming straightforward as I knew I would need to add these corresponding values in the database later with the rest of the lesson data.
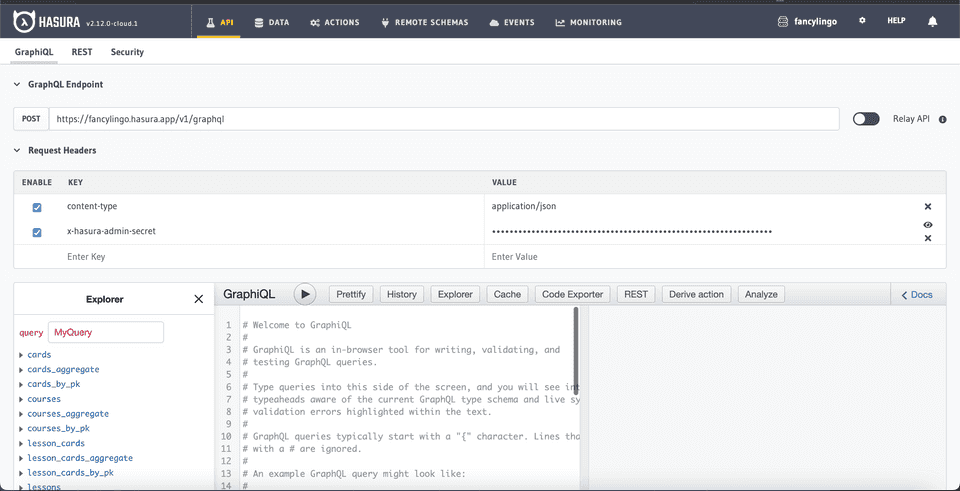
Following that up, I thought pretty hard about the database. I wanted to use the NoSQL Firebase database, but it didn't seem to make sense to have organized lessons and cards. Really felt like a PostgresSQL relational database made much more sense. I didn't want to build a server just to make a database, so I used Hasura, a cloud PostgreSQL database. It gives you all the features of a relational database and generates RestAPIs and GraphQL so you can pull the data into your project.
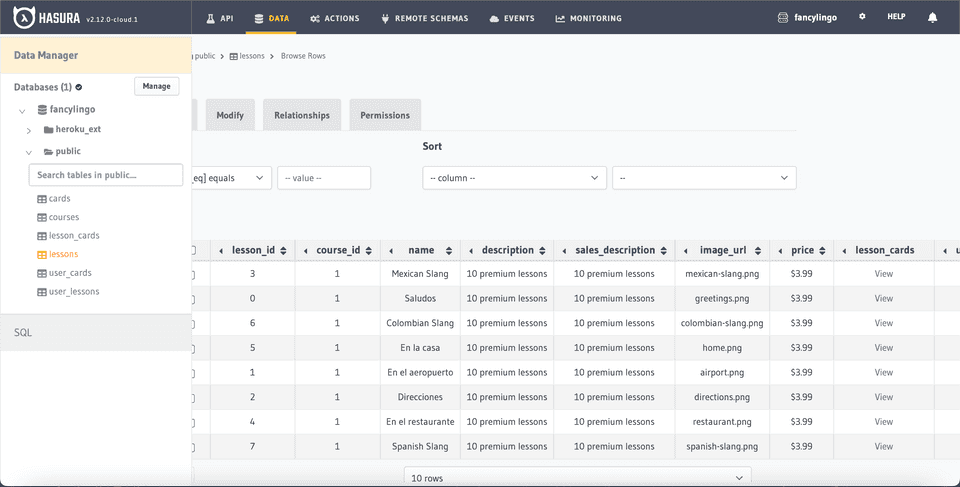
I created tables for each course (i.e., Spanish), lessons (i.e., Colombian Slang), cards (i.e., Avion), and lesson_cards (organizes which cards go in each lesson, which order, etc.) to contain all the data for language content. I also created user_lessons, so users only have access to the lessons they purchased and user_cards which are cards that a user specifically saved to practice more. I created a specific role for authenticated users so they could pull the lesson data from the database, but then I had another problem; I needed a way to tell Hasura that each Firebase user was authenticated and allowed to access the data.
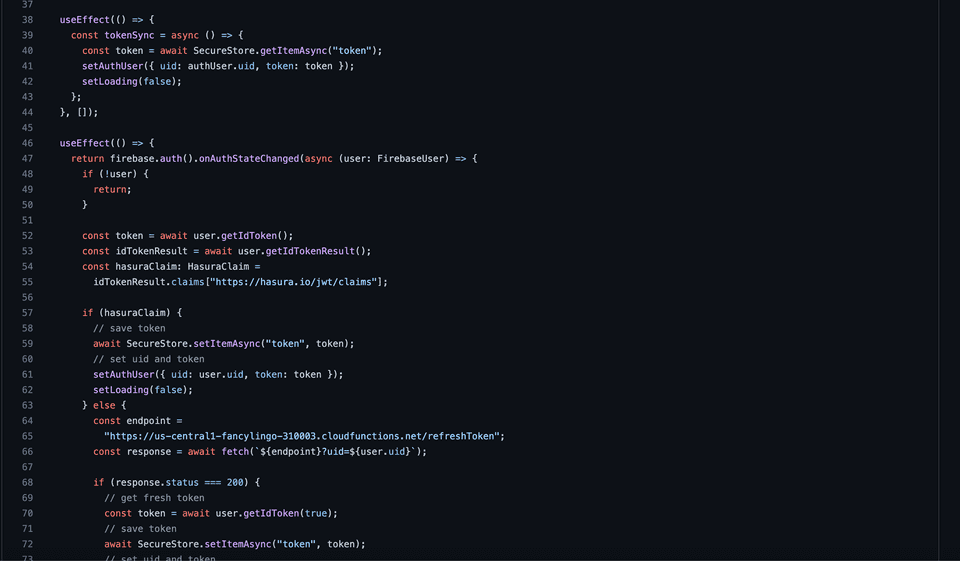
I went back to searching the documentation to see how I could generate a token after the Firebase authentication and pass it to Hasura. What ended up being the solution necessary was to use Firebase cloud functions along with setting up several env variables to link Firebase with Hasura. The cloud function I created used Node.js in the cloud and listened for Firebase authentication. On this authentication, the claims, which are Hasura's way of tracking authenticated users, were sent to Hasura. The refresh needed to be implemented on the cloud function; otherwise, the new Hasura claims would not show up in the user object until a page refresh in the application.
I also gave access to all the lessons to any newly authenticated user by making a GraphQL mutation query the user_lessons table. If this was a fully built app, I would do this differently, keeping all these lesson objects in a separate JSON file or similar idea. Other than a few free lessons, this lesson access would be triggered and adjusted when a user pays for one of the lessons rather than when they register.
The mobile application had a listener in the Auth hook that paid attention to any changes in the Firebase Auth State. When the state changed, the claims on the Firebase user were sent to Hasura for verification. If the claim matched in Hasura, the user, received an auth token that was applied to the global AuthProvider. If a previously authenticated user already had the token on their phone, it was synced into the AuthProvider.
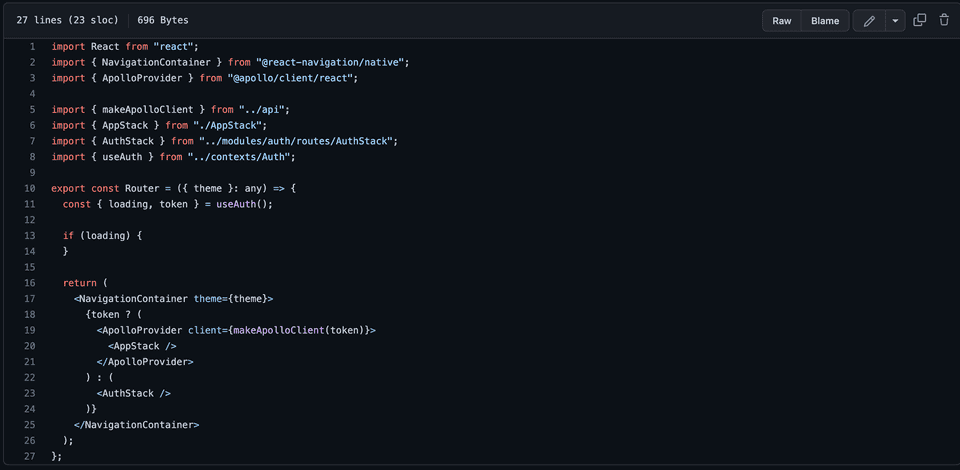
Once the user got through authentication checks, they were allowed to pass through the routing into the application. This is the same time Apollo was allowed to configure GraphQL calls for a specific user, now that they were verified and had the token.
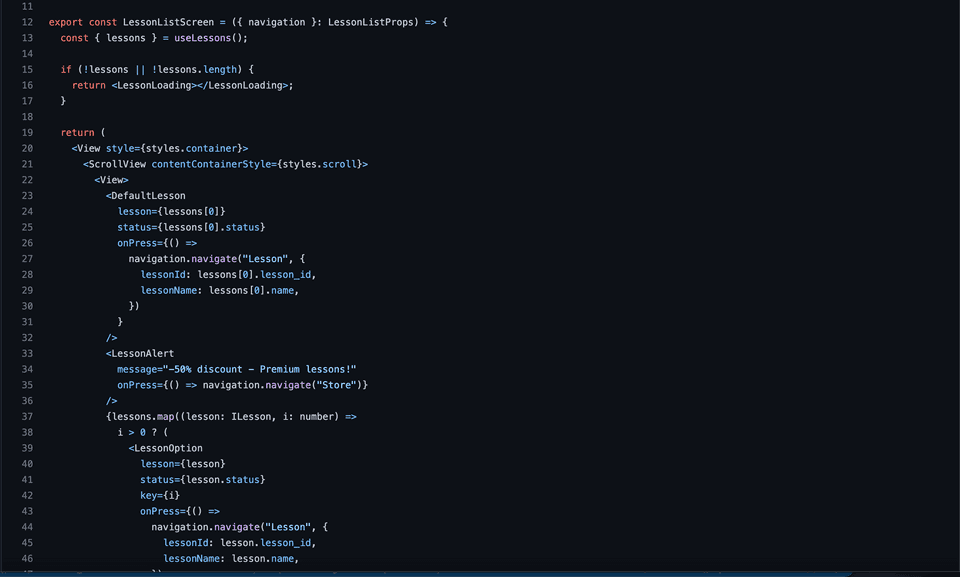
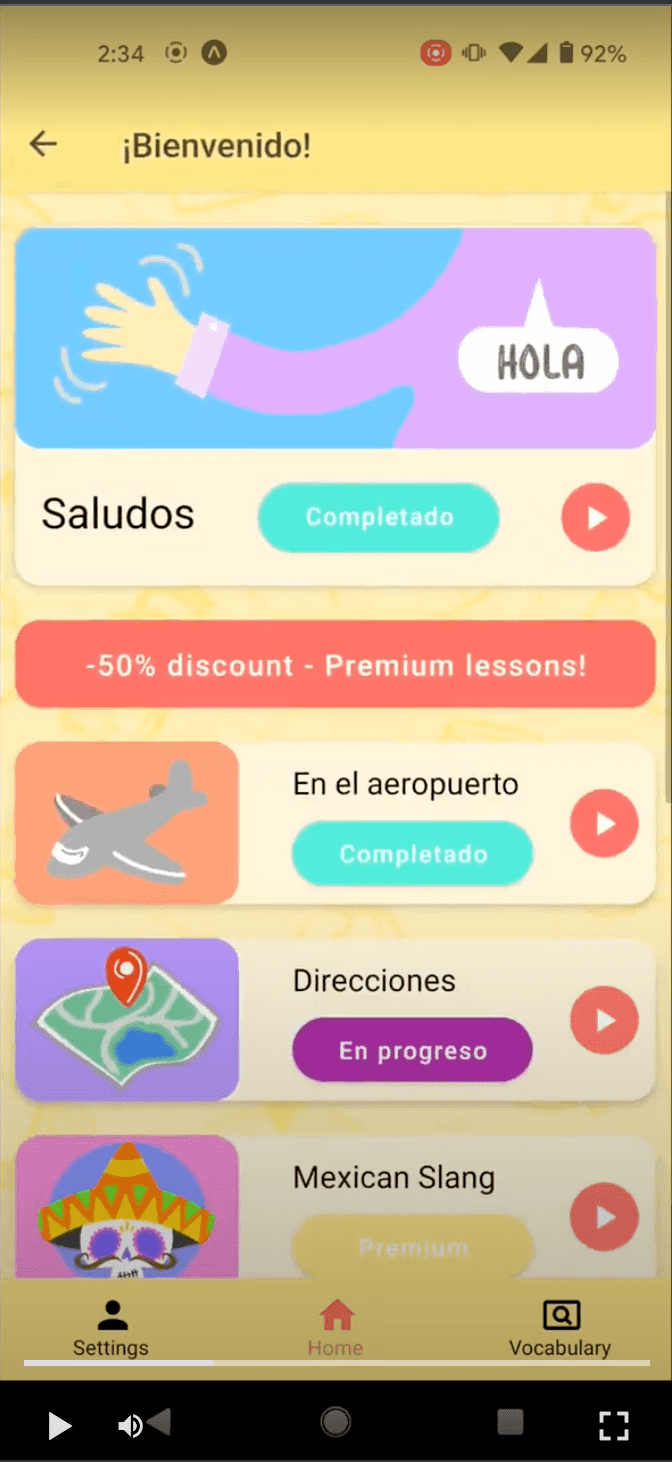
This token was also used to pull lesson data at various parts of the application once the user had access. The first thing the user saw was the Lesson List screen, which initiated a custom useLessons hook. This is also where the lessons were loaded once retrieved from the hook.
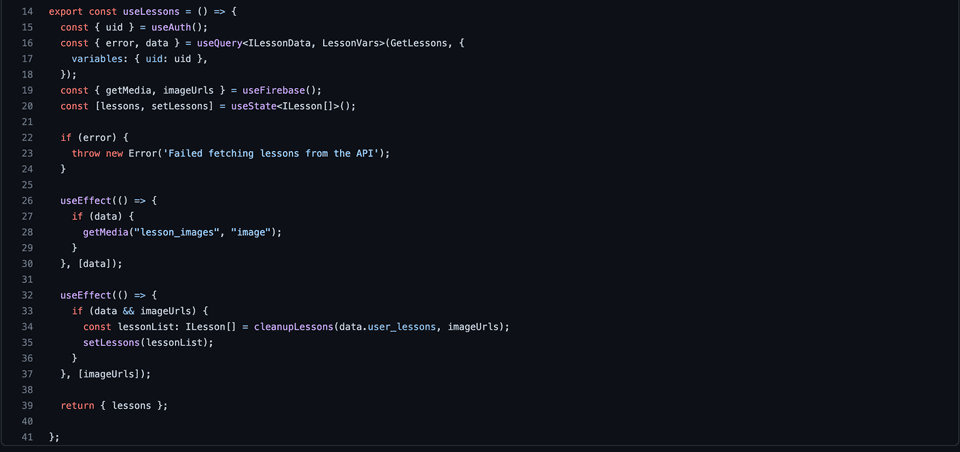
Within this lessons hook, there was another useFirebase hook utilized where I pulled the specific images for each lesson that were stored in the PostgreSQL database. Once I retrieved the pictures from Firebase storage, I merged them with the other lesson data that was pulled from the Hasura PostgreSQL database and returned them back to the Lesson List screen for rendering.
As you can see, I like hooks and tried to break down all the logic into as many smaller pieces as possible with specific jobs. This is one snapshot of doing it, but I used a similar process several times in the application to get different flashcard data. You can see my full implementation in the code.
Finally, I worked hard to make the UI look great, using CSS-in-JS to style the application and Flexbox to organize the layout. I got it looking good on all mobile screens and matching the design.
Overall, I found building a mobile app more time-consuming than building a web app, as I felt many of the standard tools I used were incompatible with mobile. The debugging was also relatively more complicated, in my opinion. It may be because I'm so much more experienced on the web, and my process isn't as optimized, but a lot of my skills carried over to React Native, which was nice. It was an exciting challenge, and I'm glad I saw it through to the end.
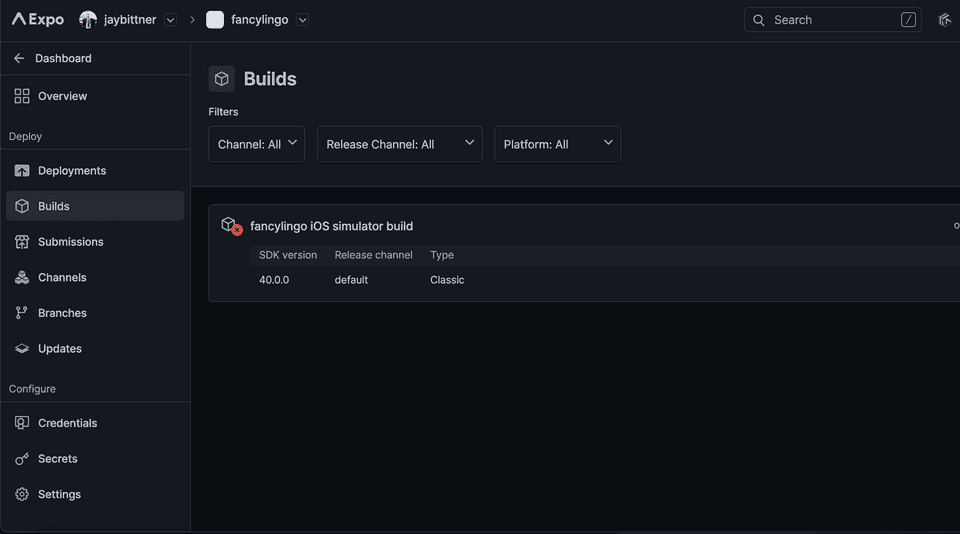
There wasn't a great way to show off the finished application to all users on the web for easy access. I was able to deploy it on Expo for Android, but this option was not available for iPhone, which was not ideal. Also, for the Android users to view the application they needed the Expo application on their phones and scan a QR code.
Some options exist to register for the corresponding app stores and launch a test deployment. Still, they involved buying licenses and a lot of configuration, which kind of went against the point to me: to get it out there and show it to as many people as possible. Expo has an option to deploy to the web, so I'll put that out there at some point. For now, I did a screen recording from my Android to show a demo of the application. We've been pretty swamped with work and haven't pursued this project too hard, but we'd like to at some point, whether as a mobile app, web app, or web3 iteration.


